Irrigation scheduling answers two questions: when to water and how much. Get both right and you save water, energy and labor while protecting yield. Get them wrong and you waste resources or stress the crop. The method is a bookkeeping exercise, a water balance, and it can be done with a spreadsheet, an extension tool or a scheduling service.
The water balance idea
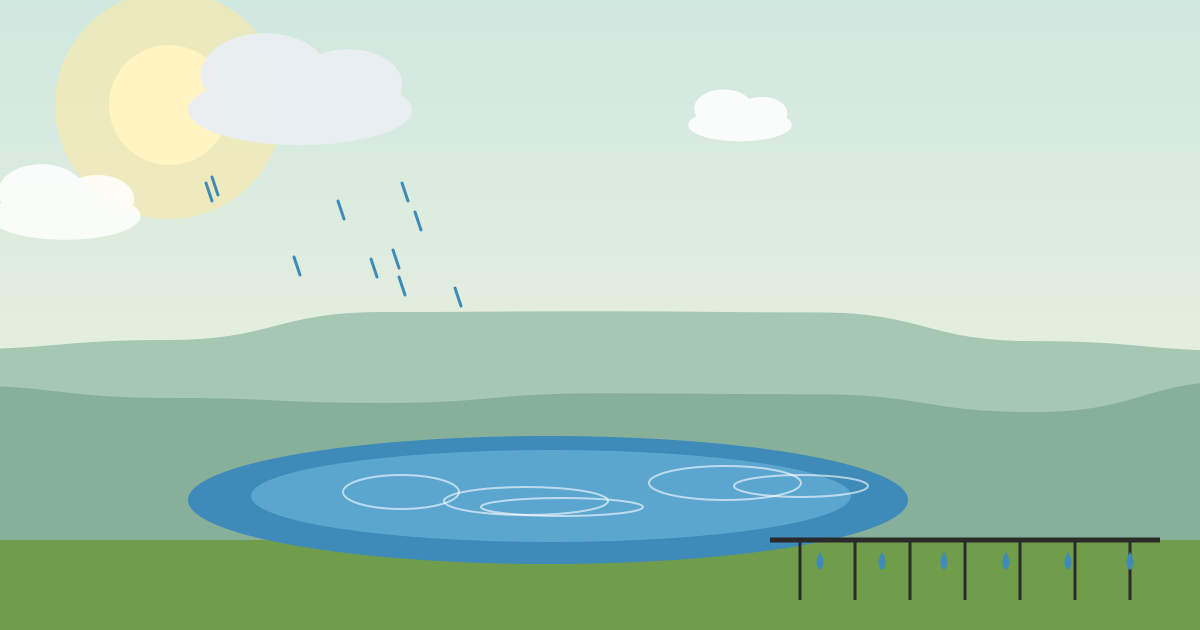
Think of the root zone as a bucket.
- Capacity: the amount of water the soil can hold that plants can use, called available water capacity.
- Withdrawals: crop water use by evaporation and transpiration, together called evapotranspiration (ET).
- Deposits: rainfall and irrigation.
- Overflow: water beyond capacity drains or runs off, lost to the crop.
Schedule irrigation to refill the bucket before the crop is stressed, without overflowing it.
Step 1: Know your soil
Find available water capacity for each field, which depends on soil texture and depth. The Web Soil Survey gives estimates for mapped soils. A silt loam may hold roughly two inches of available water per foot of soil, while a sand may hold under one inch per foot. Use your local figures. Also note infiltration rate, which determines how fast you can apply water without runoff.
Step 2: Know your crop's roots
Rooting depth changes through the season and varies by crop. Shallow-rooted crops like onions and lettuce have small buckets and need frequent small irrigations. Deep-rooted crops like alfalfa and corn can draw on more depth. Extension crop guides list effective rooting depth by stage. Multiply available water per foot by effective rooting depth to get the size of the bucket.
Step 3: Set management allowed depletion
Management allowed depletion (MAD) is the fraction of available water you let the crop use before irrigating. Many crops are managed at around half of available water, with sensitive crops lower and tolerant crops higher. Your extension service provides values for local crops and stages. The amount of water you allow to be used is the bucket size times MAD, and that is the maximum net application at each irrigation.
Step 4: Estimate daily crop water use
Crop ET is estimated as reference ET, which comes from weather data, times a crop coefficient that varies with growth stage. Many states publish daily reference ET from weather station networks, and extension and state agencies offer scheduling tools. Crop coefficients start low at planting, rise as the canopy grows, peak at full cover and decline near maturity.
If you have no local data, an irrigation specialist can supply approximate daily use by month for your crop and area.
Step 5: Keep the balance
A simple daily or weekly worksheet has these columns:
- Date
- Estimated crop ET
- Rainfall (measured on site if possible, and count only effective rain)
- Irrigation applied (net, after efficiency losses)
- Soil water depletion (previous depletion plus ET minus rain and irrigation)
When depletion approaches your allowed depletion, irrigate. Reset to zero after a full refill, and cap at field capacity.
Step 6: Decide how much to apply
Net application equals the current depletion. Gross application is net divided by system efficiency, where efficiency depends on the type and condition of your system. Do not apply more than the soil can hold or infiltrate. Check also for runoff on slopes and heavy soils. If your system applies lower amounts than the soil needs, you will irrigate more often.
Step 7: Check with soil sensors
Soil moisture sensors confirm the balance and catch errors in ET estimates, rainfall and application. If the sensors disagree with the calculation, investigate: perhaps the crop coefficient is off, root depth differs, or the system does not apply what you think. See soil moisture monitoring. A shovel check remains valuable.
Step 8: Adjust by crop stage
Some stages are more sensitive to stress, such as flowering, fruit set and grain fill, and others tolerate dryness. Maintain adequate moisture during critical periods. Cut back near maturity or harvest as research suggests for your crop. For perennial crops and orchards, specific stage guidance exists from extension and grower associations.
Using tools
- Spreadsheets from extension offices are free and effective.
- Mobile apps and online tools from universities and agencies handle ET lookups.
- Commercial scheduling services provide recommendations using satellite or weather data.
- Automated controllers can run the schedules, with periodic review.
Check what your state offers. The state pages in the directory link to extension programs that often publish irrigation scheduling tools.
Dealing with rain and forecasts
Do not irrigate ahead of a forecast storm unless the crop needs it. Check forecasts and soil depletion together, and count only effective rain, not light showers that wet the canopy and evaporate. When rain exceeds capacity, record it as drainage.
Special situations
Drip systems wet only part of the soil, so manage the wetted volume, which has a smaller bucket. Frost protection and cooling use different calculations. Salinity management may require leaching extra water. Germination and establishment may need frequent light irrigation.
Records
Keep an irrigation log with dates, durations, volumes and soil or weather notes. Over time, you can compare water use per unit of yield across seasons and fields, which builds your own benchmarks. Records also support applications for cost-share programs and water rights reporting.
Bottom line
Scheduling is a bookkeeping habit: know your soil bucket, track crop use and rain, and irrigate before the allowed depletion line. Confirm with sensors and a shovel, adjust for crop stage and keep records. The savings in water and energy are usually worth the effort.
Frequently asked questions
How do I know when to irrigate?
Track a water balance of crop use, rainfall and irrigation against your soil's available water, and irrigate when depletion reaches the allowed level, confirming with soil moisture readings.
What is management allowed depletion?
The share of available soil water you allow the crop to use before irrigating. Values vary by crop and growth stage, and extension services publish them.
Where do I get crop water use data?
State and university weather networks publish reference evapotranspiration, which you multiply by crop coefficients from extension guides.
Does drip irrigation need different scheduling?
Yes. Drip wets only part of the root zone, so schedules use smaller, more frequent applications and manage the wetted volume.